|
<< Click to display Table of content >> To start |
  
|
|
<< Click to display Table of content >> To start |
  
|
This phase is paramount in the creation of mapping. It involves the input of useful data, checking its structure and defining the extent of the study or simulation zone.
Set the Country
In the MithraSIG Options, you can set the Country. Modify this option will start MithraSIG with some specific parameters based on the country chosen: projection, themes, indices...
Create a project
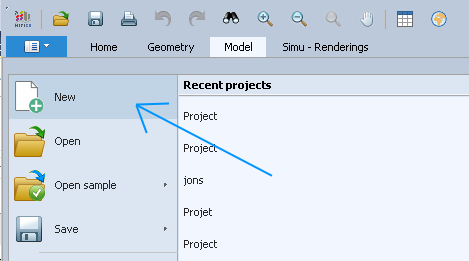
To create a project, go in the menu File/New. Then, choose where to save your project. Be careful, only 1 project must be saved in a folder. This creates a .swd file which is the extension of the main MithraSIG file.

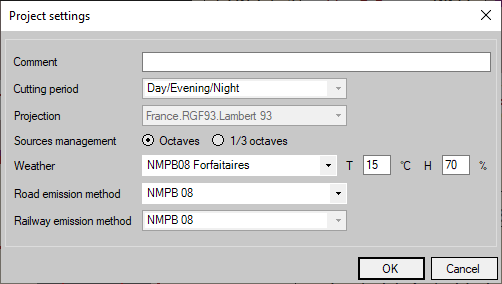
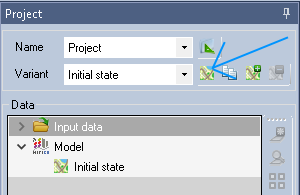
Once the project is saved, the Project settings window appears. This window can be accessed from the Project window by clicking on the button ![]() . Read chapter Project parameters for more details.
. Read chapter Project parameters for more details.

Project settings window
Choose the projection of the project. By default, the projection is the one based on the Country set in the options. If you don't know the projection of your data, leave the default projection. You will be able to modify it later.
By default, the data is in the Default variant. You can rename this variant if necessary.

Rename/Edit variant