|
<< Click to display Table of content >> Add a railway |
  
|
|
<< Click to display Table of content >> Add a railway |
|
•From the ribbon Model, click on the button ![]() in the group Add items.
in the group Add items.
•The Line tool is active. Design the geometry that corresponds to the new object. Finish by pressing the Enter key.
•The Railway interface is displayed so that the parameters of the input line can be entered.

Railway - Geometry
•Enter the geometric parameters:
oThe Number of lanes (from 1 to 8).
oThe Distance between axis.
oThe h1: Ballast height (0: tramway lane). The h2: Rails height.
oThe d1: Rails gauge.
oThe d2: Top of ballast width.
oThe d3: Bottom of ballast width.
oThe d4: Track beds width.
oThe Track beds material. The possible values are:

The Cutting schema is automatically updated in accordance with the parameters and any width errors will be indicated.
•Enter the acoustic parameters:

Railway - Acoustic

Contextual menu
oA Comment.
oThe Nature. Use the ![]() button to add a nature.
button to add a nature.
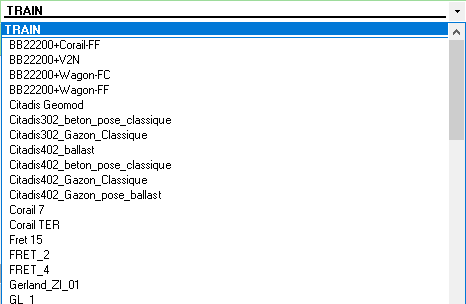
oThe Rail type.
•Click OK to confirm.
The ![]() button and the context menu Show spectrum give access to the window showing the corresponding spectrum as does the context menu. When the spectrum is viewed from the period (clock icon), it is the cumulative spectrum of all trains and convoys for all heights that is displayed.
button and the context menu Show spectrum give access to the window showing the corresponding spectrum as does the context menu. When the spectrum is viewed from the period (clock icon), it is the cumulative spectrum of all trains and convoys for all heights that is displayed.
The ![]() button and the context menu Report on all periods make it possible to add the selected train(s) to all periods.
button and the context menu Report on all periods make it possible to add the selected train(s) to all periods.
The ![]() button and the context menu Delete train(s) make it possible to remove the selected train(s) from all periods.
button and the context menu Delete train(s) make it possible to remove the selected train(s) from all periods.
The ![]() button allows to visualize the train parameters.
button allows to visualize the train parameters.
Graphical representation of railways

Graphical representation of railways
•The brown area represents the platform.
•Two areas of sloping ballast in grey on either side of the flat area (between dotted lines).
•A flat grey area between the two sets of double dotted lines.
•A dark grey axis which possesses all the information of the railway in attributes.
•Traffic in red (with direction).