|
<< Click to display Table of content >> On Facade receiver |
  
|
|
<< Click to display Table of content >> On Facade receiver |
  
|
Receiver on facade placed manually
•From the ribbon Model, click on the button ![]() in the group Add items.
in the group Add items.

•The Point tool is active. Select an outline of a building by using the attachment code (L for Line, M for Middle, V for Vertex, etc.) to place the receiver on the facade.
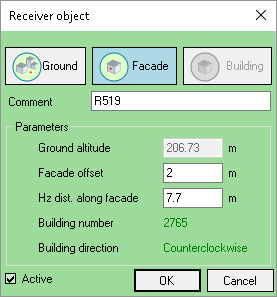
•Once the point is in the correct position, the Receiver object box is displayed:

On facade recevier interface
oOn Facade option is automatically selected.
oEnter a Comment if required.
oEnter the Facade offset.
oPossibly modify the Hz Distance along the facade (the distance shown when the dialogue box opens relates to the point clicked).
oThe Ground altitude, Building number, Building direction (for the distance from the start of the facade) and Hz Distance along the facade parameters are automatically entered according to the position chosen by moving the cursor.
•Click OK to confirm.
A receiver is created for each floor of the building (ultimately only one will be shown in the display window). The receivers are placed at mid height on each floor of the building. The receiver on the ground floor is placed at mid height on the ground floor.
The receiver created is automatically placed on the facade and automatically directed depending on the facade.
The receivers are common to all the variants of the project.
Receiver on facade placed automatically
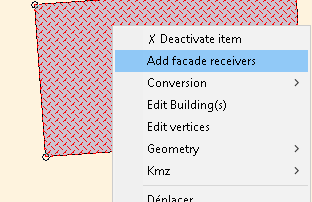
By selecting one or several buildings, in the contextual menu, it is possible to create receivers on facade automatically by clicking on Add facade receivers.

Add receivers on facade
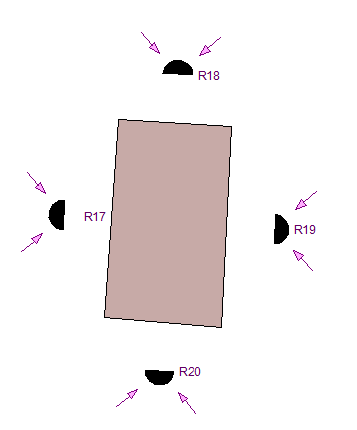
Each receiver is placed on the middle of each facade of the building.

Automatic receivers on facade